Hello dear reader,
Today I wanted to share a little doll making progress post with you on how I have made Rosemary
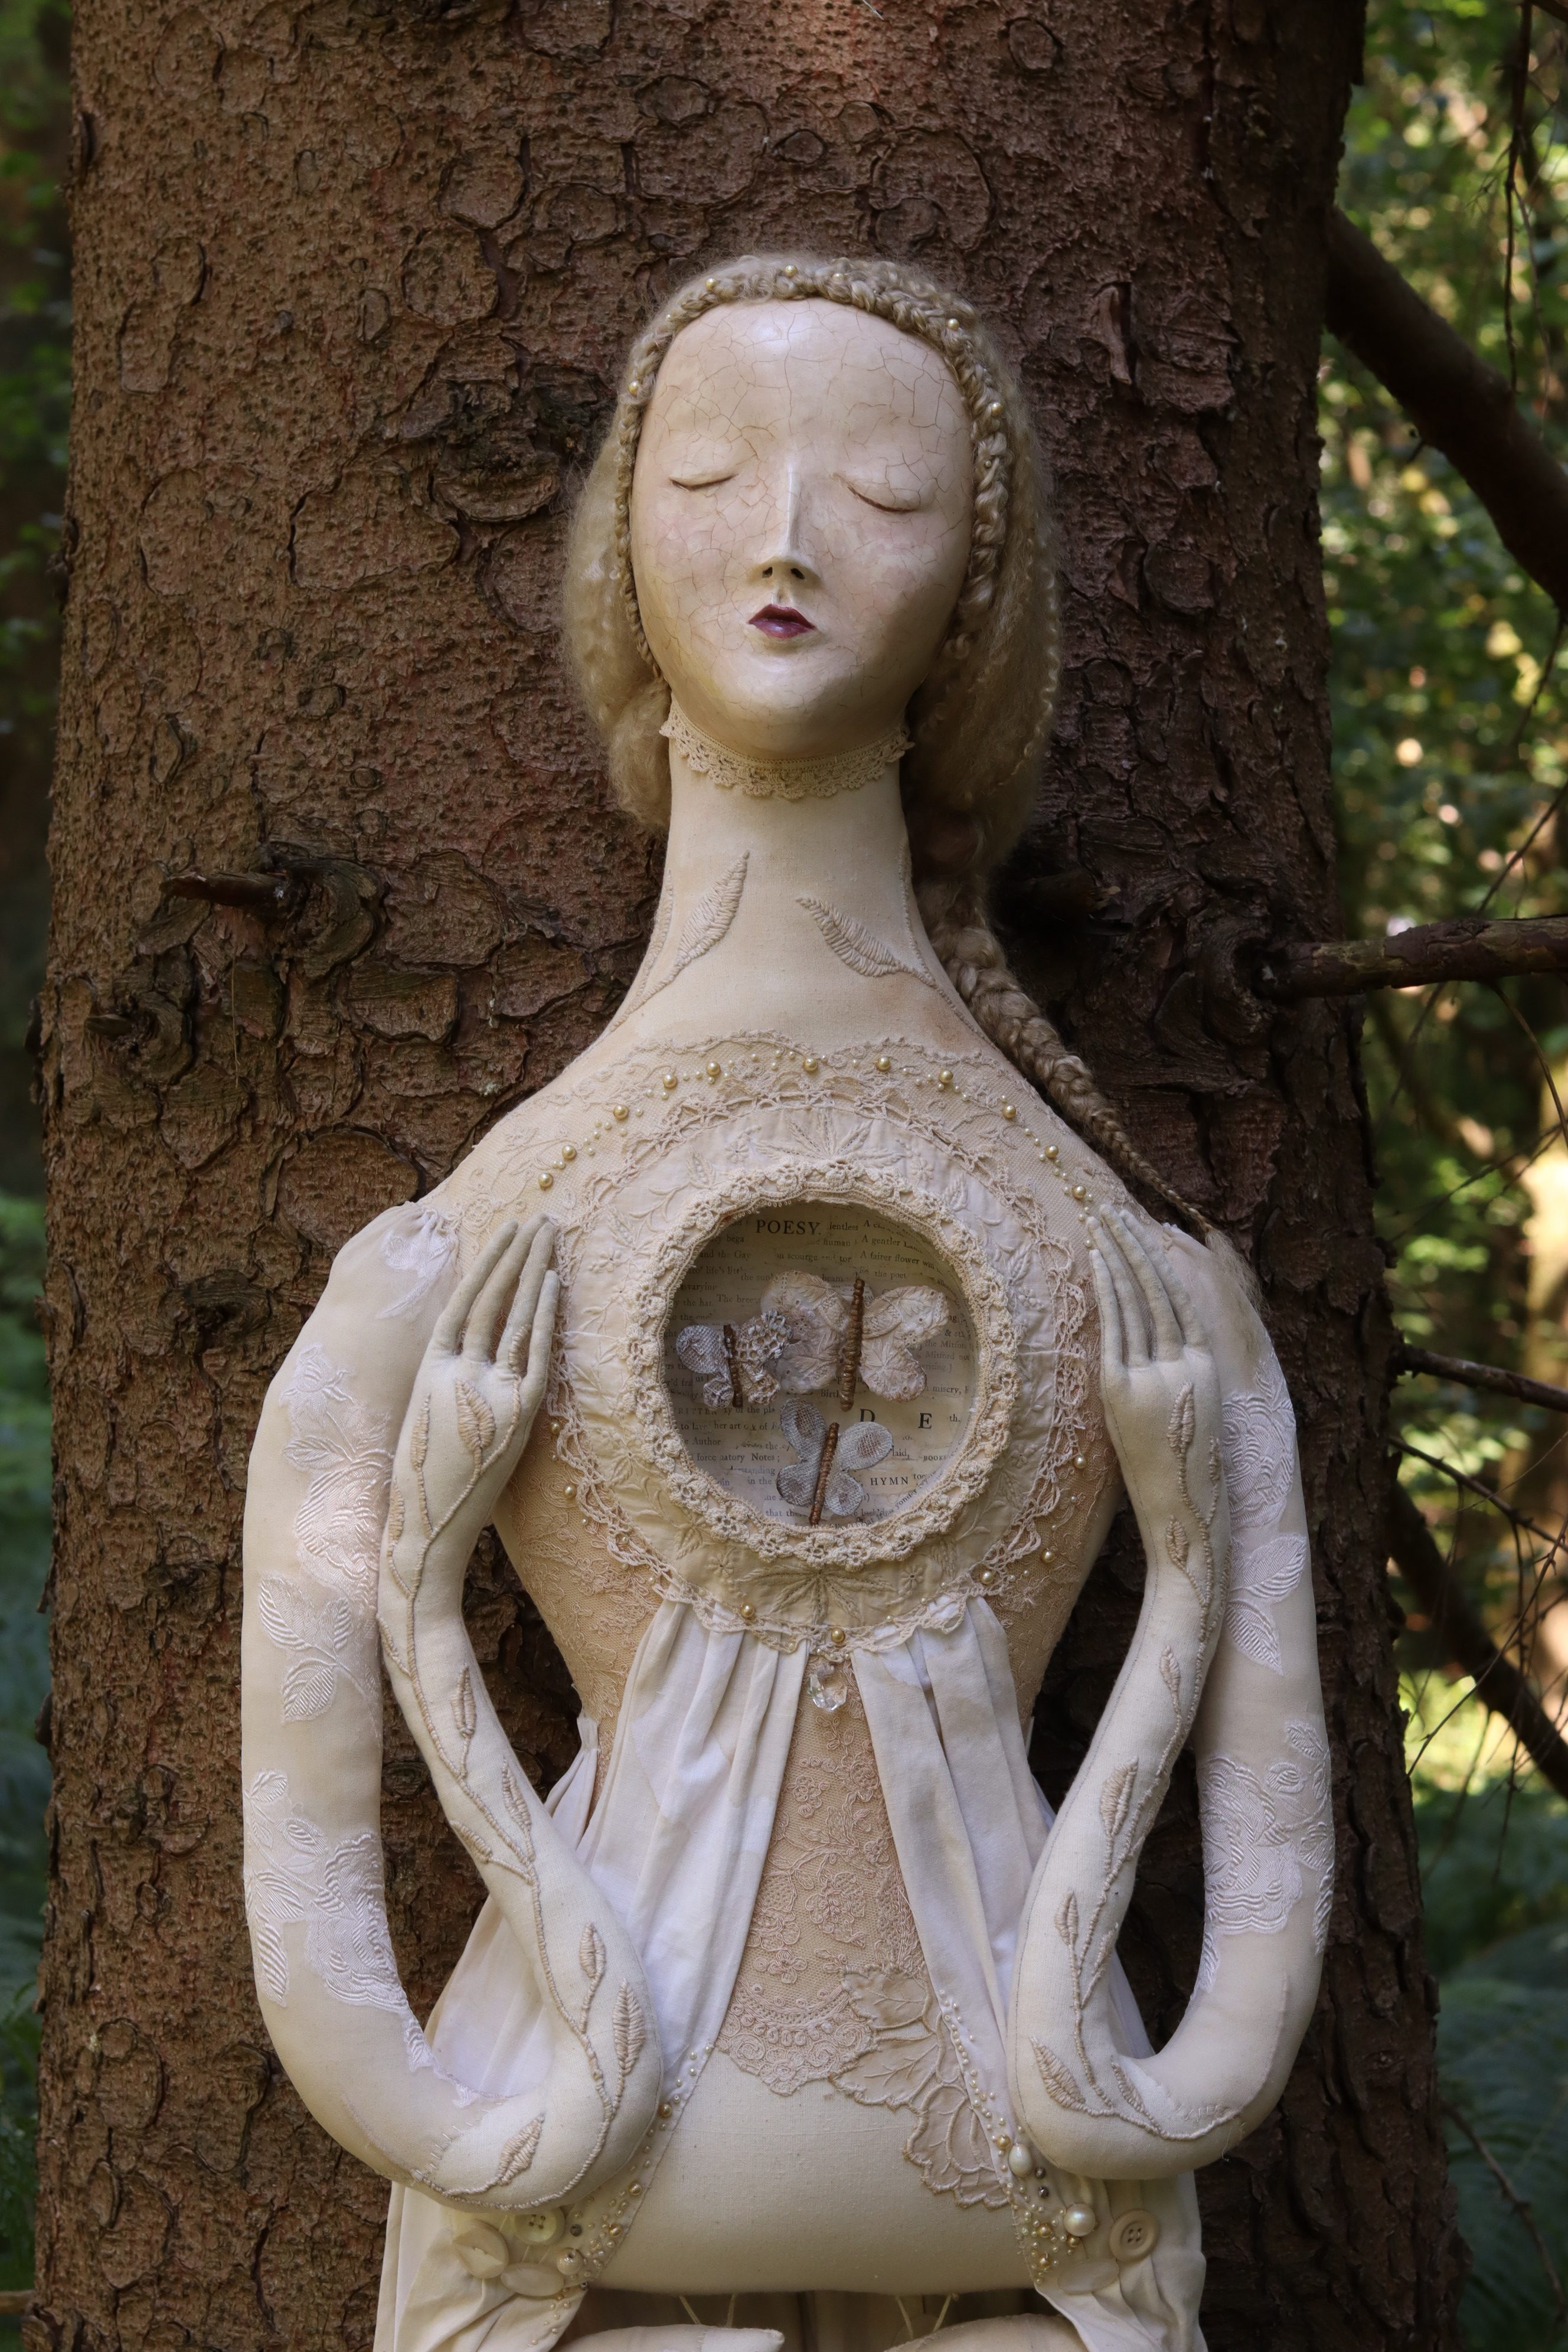
Rosemary is a large art doll sculpture, she measures 135 cm’s tall and I custom created her for a special collector.
This is something I rarely do, but the request was so close to my heart, I really wanted to bring this doll to life
So in this post I’d like to take you through some of the steps in the creative process, starting with, as always: FABRIC


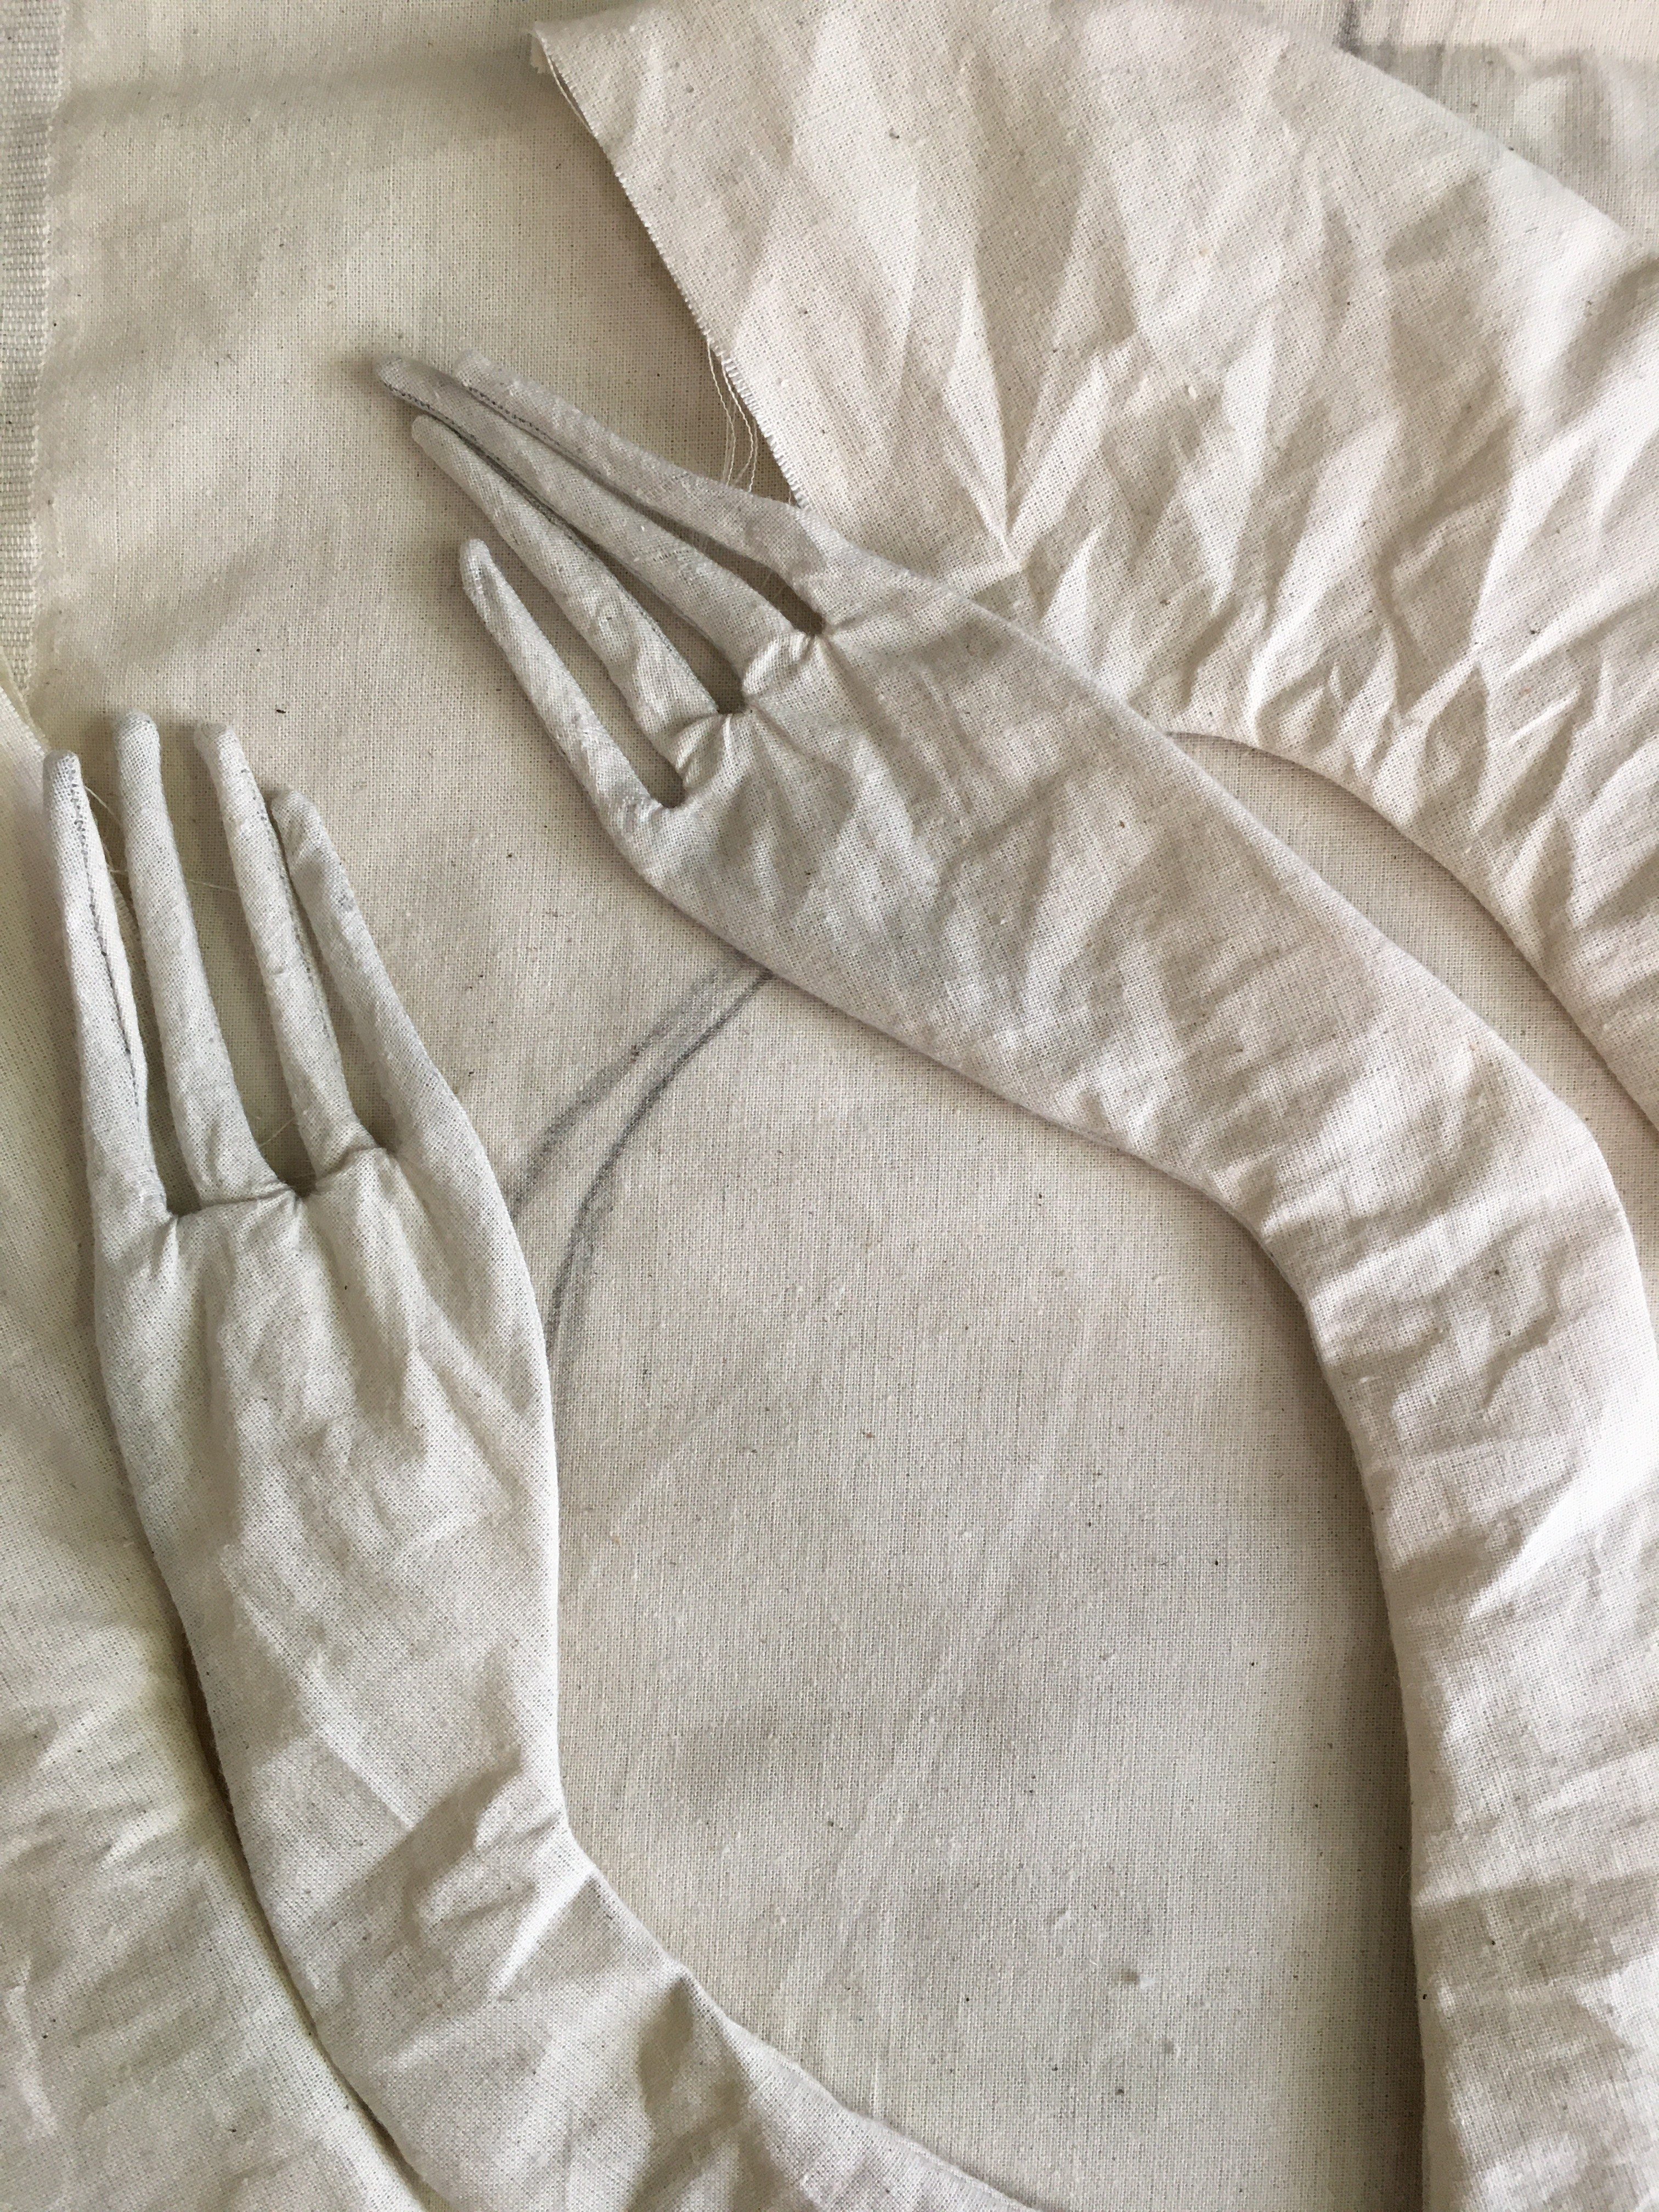
I roughly draw out the shape of the doll and her limbs, using pencil on calico (unbleached mid weight cotton)
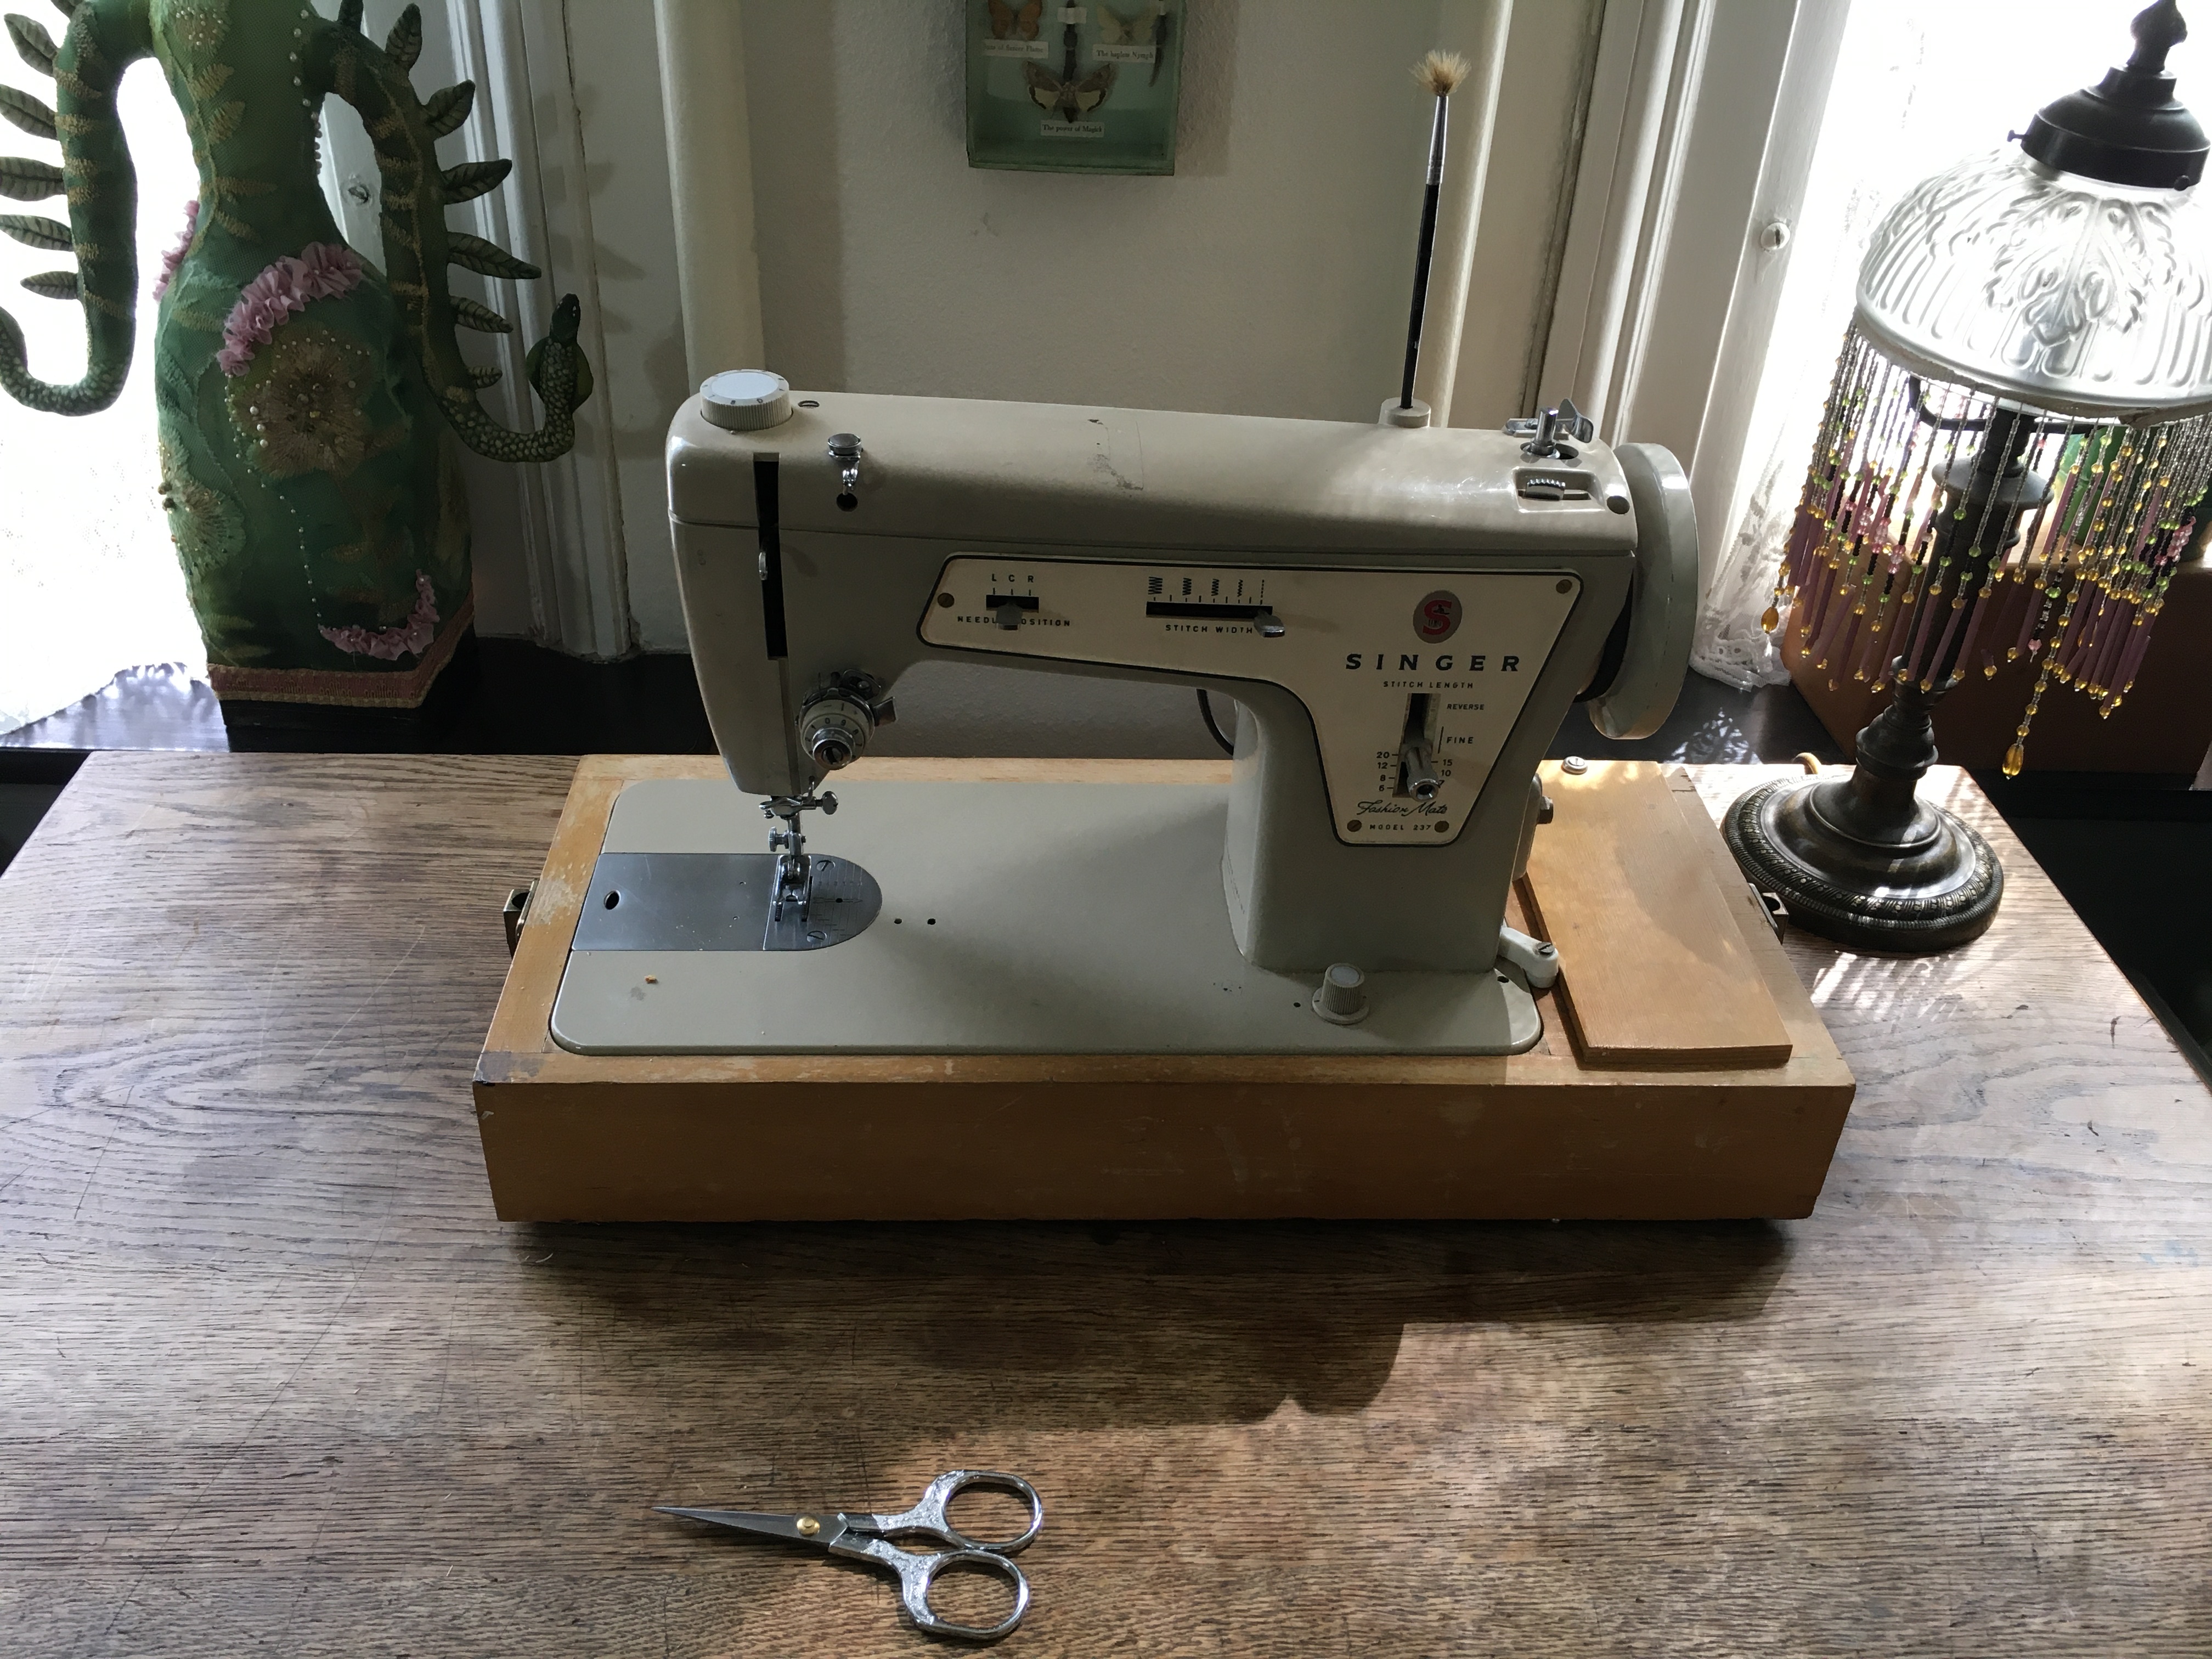
The outlines I then sew together with my 70’s Rockstar Singer sewing machine
Before turning I cut the shape free along the sewn edges.
This has to be done not too close to the edges as it makes them prone to falling apart, but not too far from the edges either,
as it would leave too much fabric which would make the next step: turning the fabric inside out, a lot harder.
Especially the small parts, like the fingers, are a little tricky.
Cutting too close to the edge and you have a risk of poking through when turning,
but leaving too much fabric makes the turning impossible as there isn’t enough space to do so.
So a happy medium always goes a long way!

After turning the doll parts I firmly stuff them with poly fibre filling.
I use a heavy weight filler that is not too fluffy if that makes sense.
It also packs nice and dense, giving a good firmness and weight to the finished piece rather than a light, puffy pillow feel.
The fibre filler I use has a little bit of a coarse texture too, making it easier to push the material into the space, using broken paintbrushes.
Yes, the broken paintbrush has proven to be one of my most used tools!
It has a good length and the rough broken edge hooks into the fibre so it sticks to it slightly when I push it into the fabric.
A perfect rounded tip would slide through the fibre more easy, and I’d loose the material midway the arm.
By the way, the broken paint brush doesn’t only come in handy for the purpose of stuffing dolls arms,
if you take another look at my sewing machine in the picture above you will see what I mean 😉

The next step is sewing on the head to the upper body, which is quite a rough job with weird angles,
so for this I use big needles and thick thread that doesn’t break easy.
Then I start to sculpt the clay face onto the head, taking the clay over the sewn edge of the neck so that becomes hidden.
I use the clay on cloth technique which I read about once on google actually. It is a great technique for which you can use air drying clay.
The stuffed fabric underneath the clay has enough room to give when the clay is drying and shrinking.
A solid underground often makes air drying clay crack in the drying process, but not with this technique,
because as I said, the fabric mould underneath has some room to give and can shrink slightly with the clay as it is drying.
So no cracks and a really solid base for the clay, making the dried sculpture very durable.
Not indestructible of course, but not fragile either.
After the clay is dry, which can take a few days, a week if you want to be sure the inside is dry too, I sand the surface down, with regular sanding paper.
The surface of the clay that has shrunk has started to look like an old pear that has been sitting in the fruitbowl a little too long,
so I always take my time to sand it down properly. We want smooth!

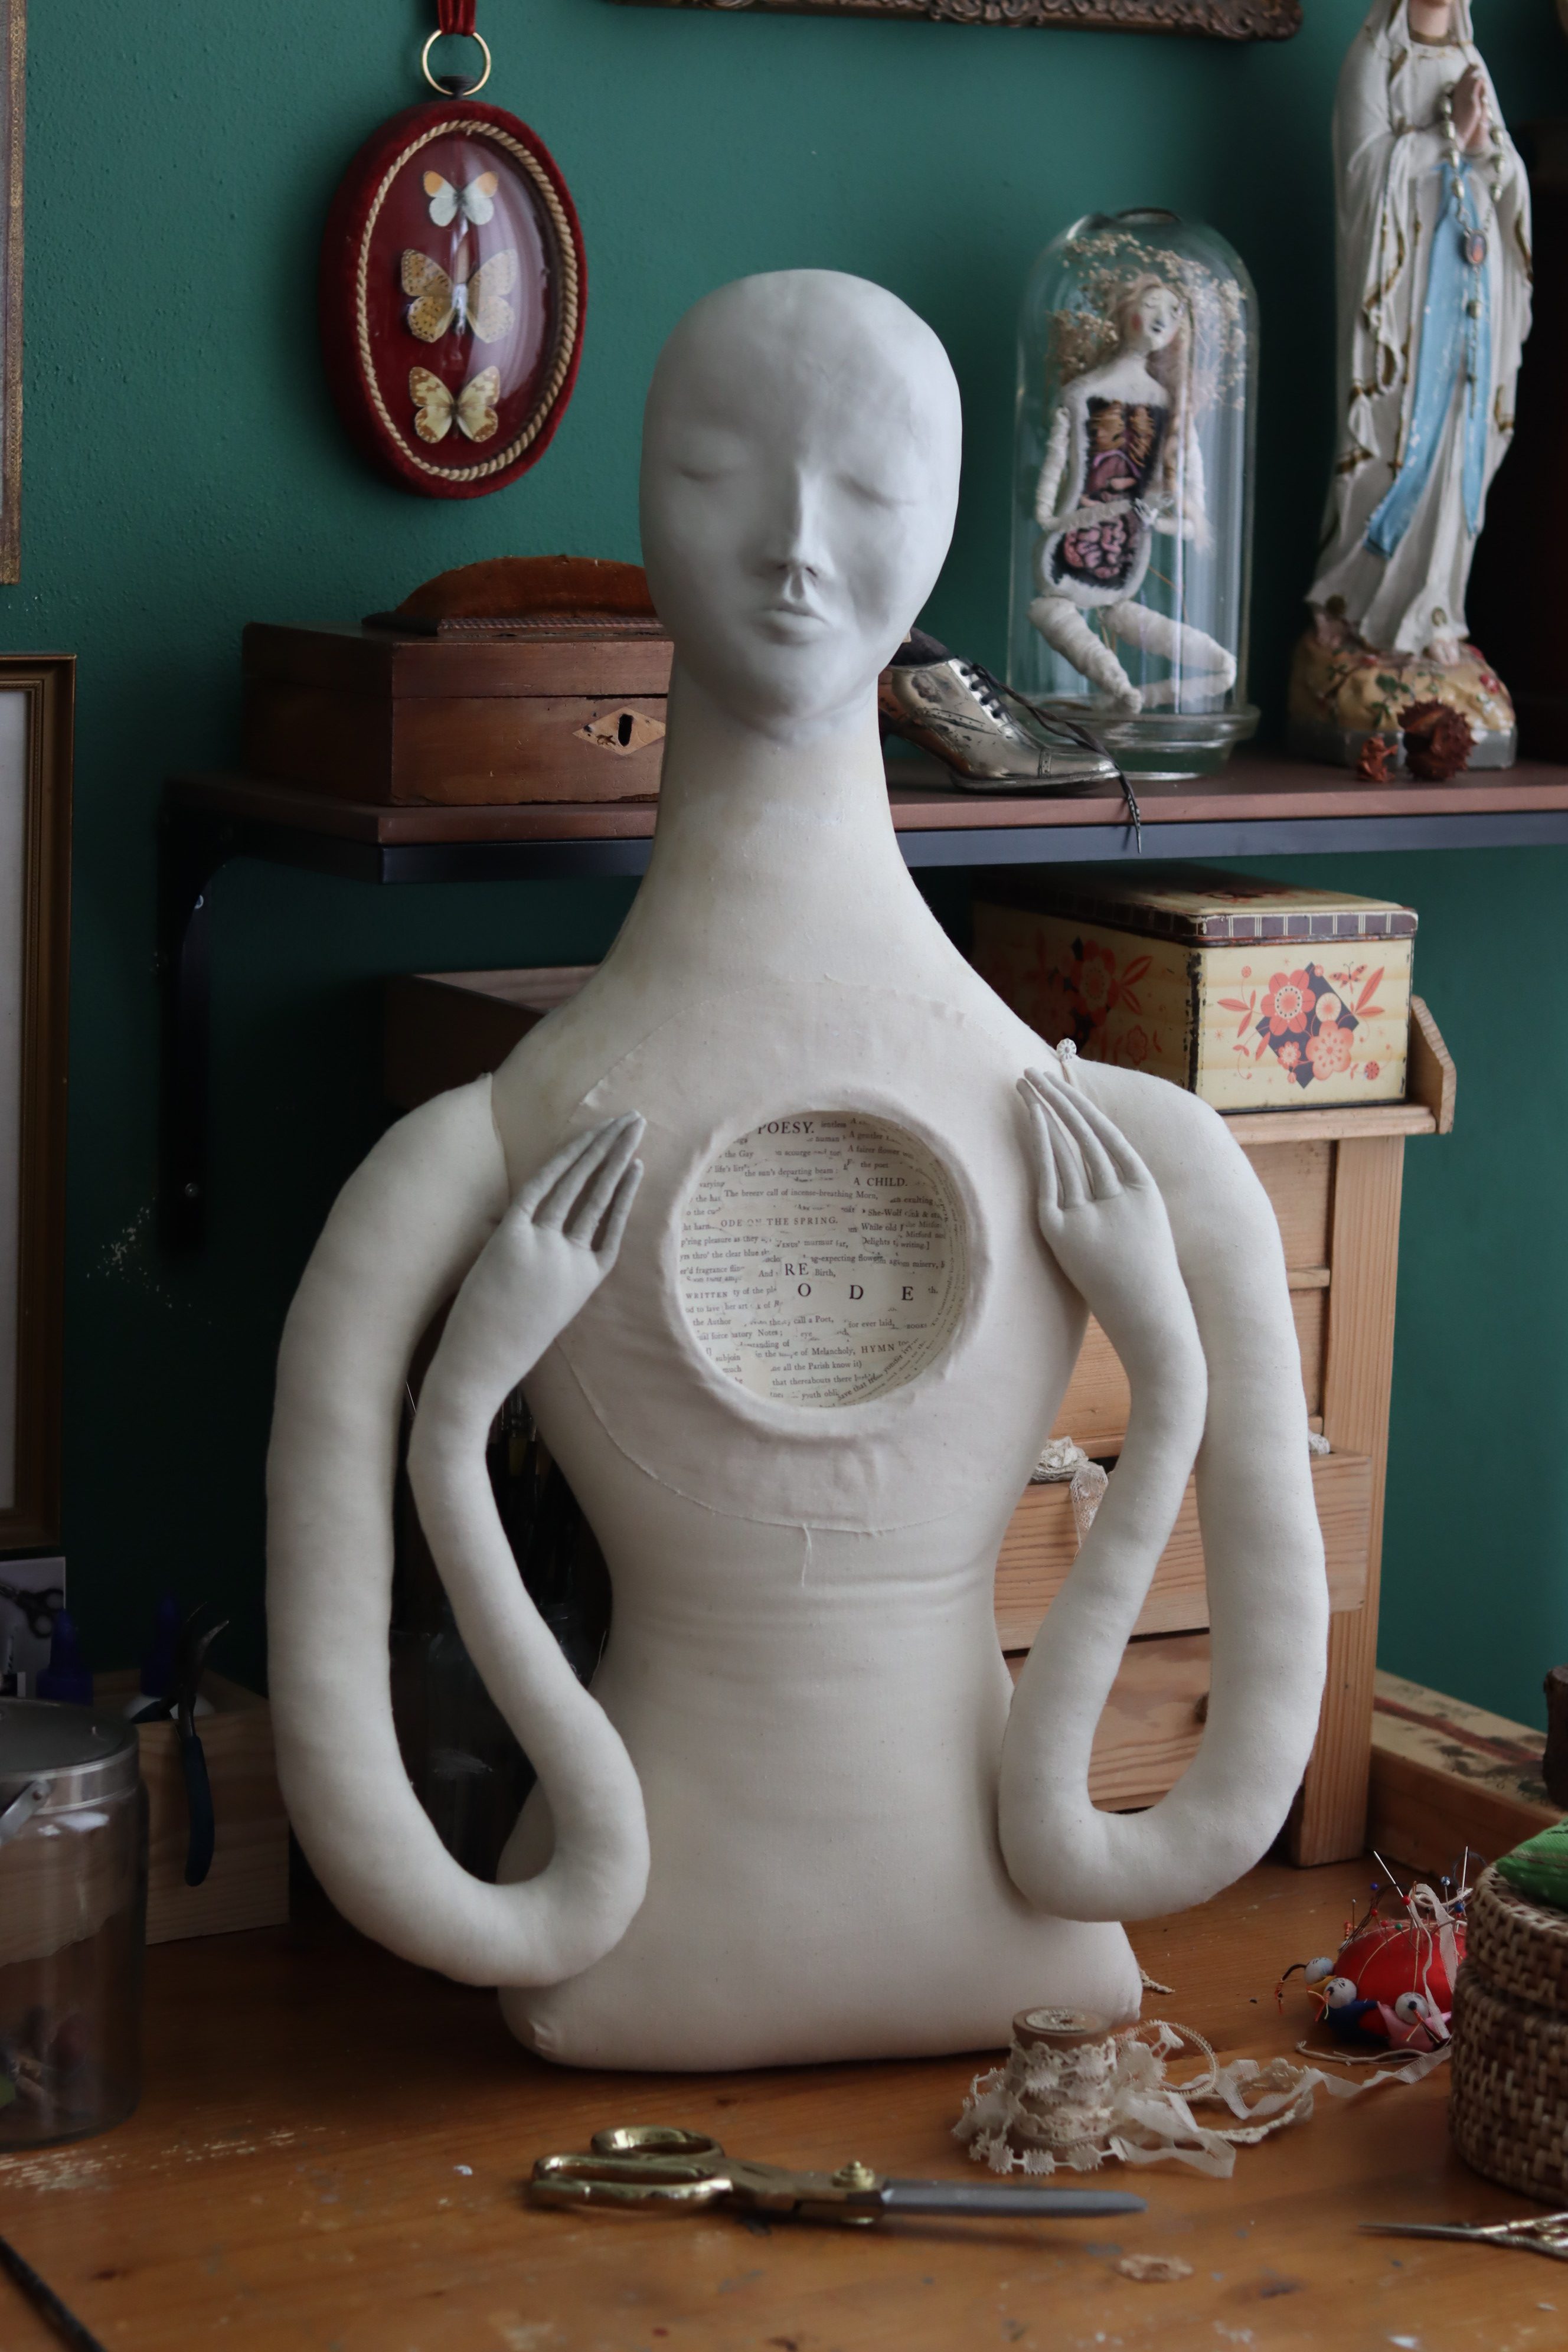
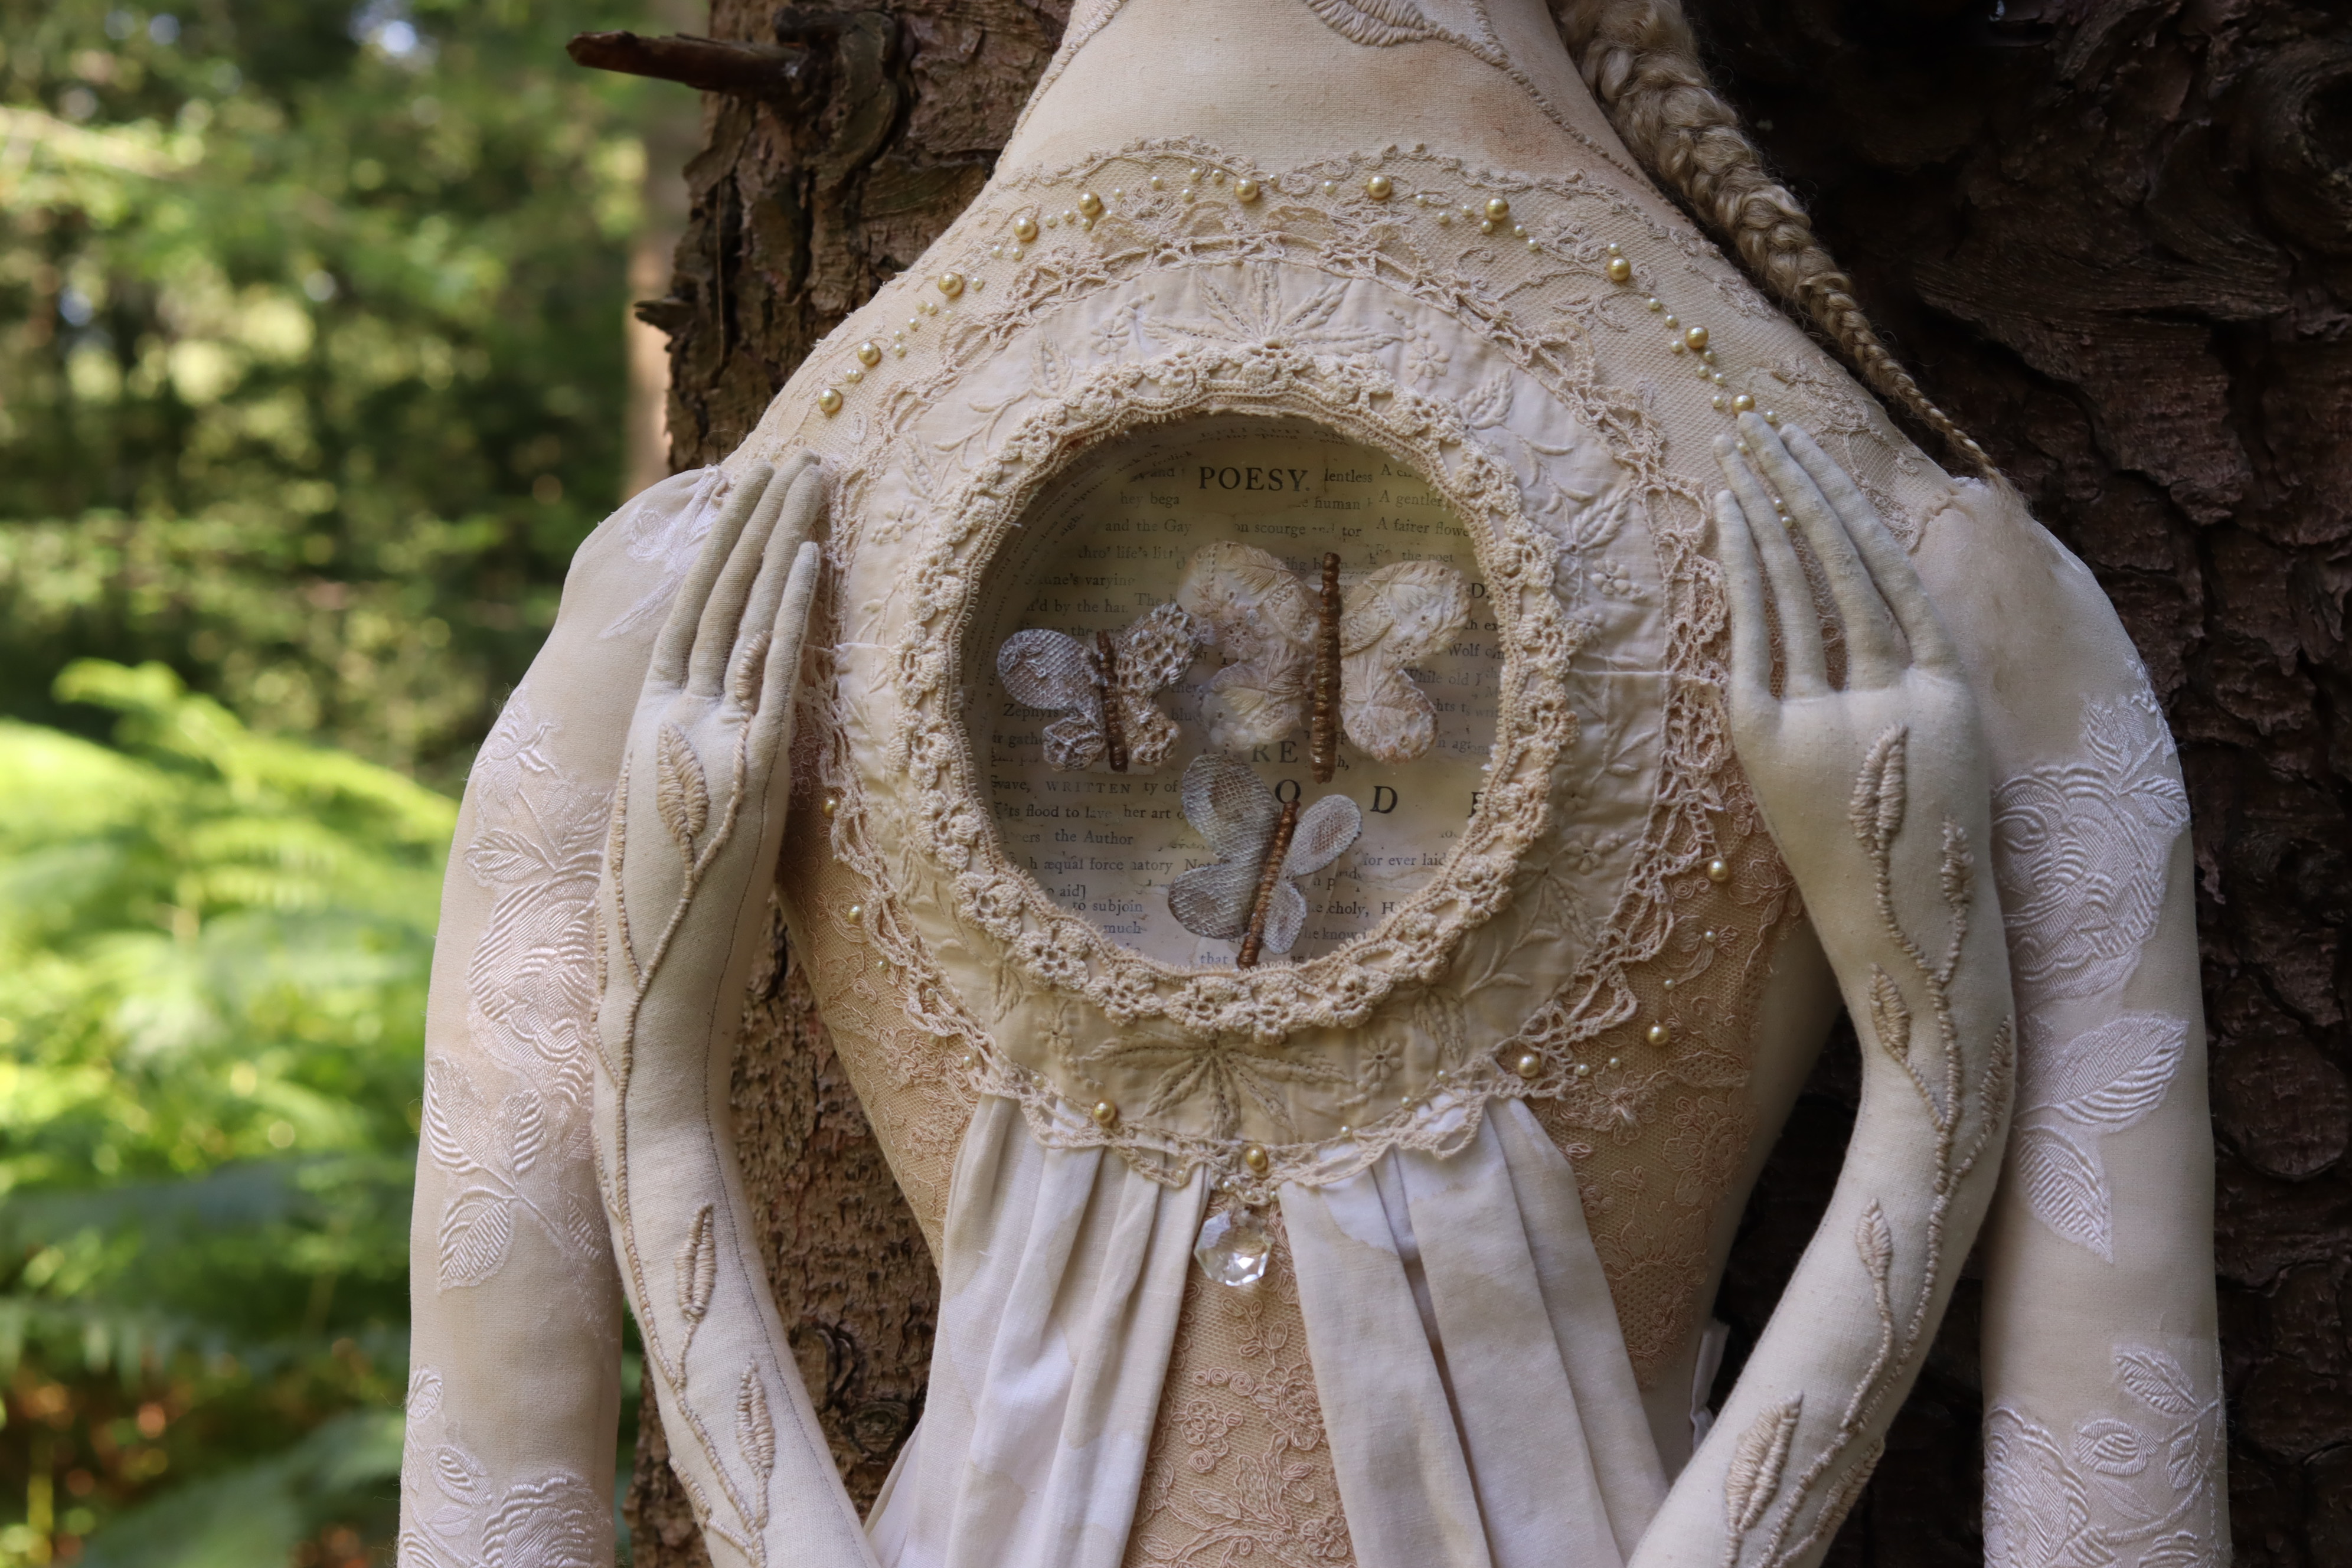
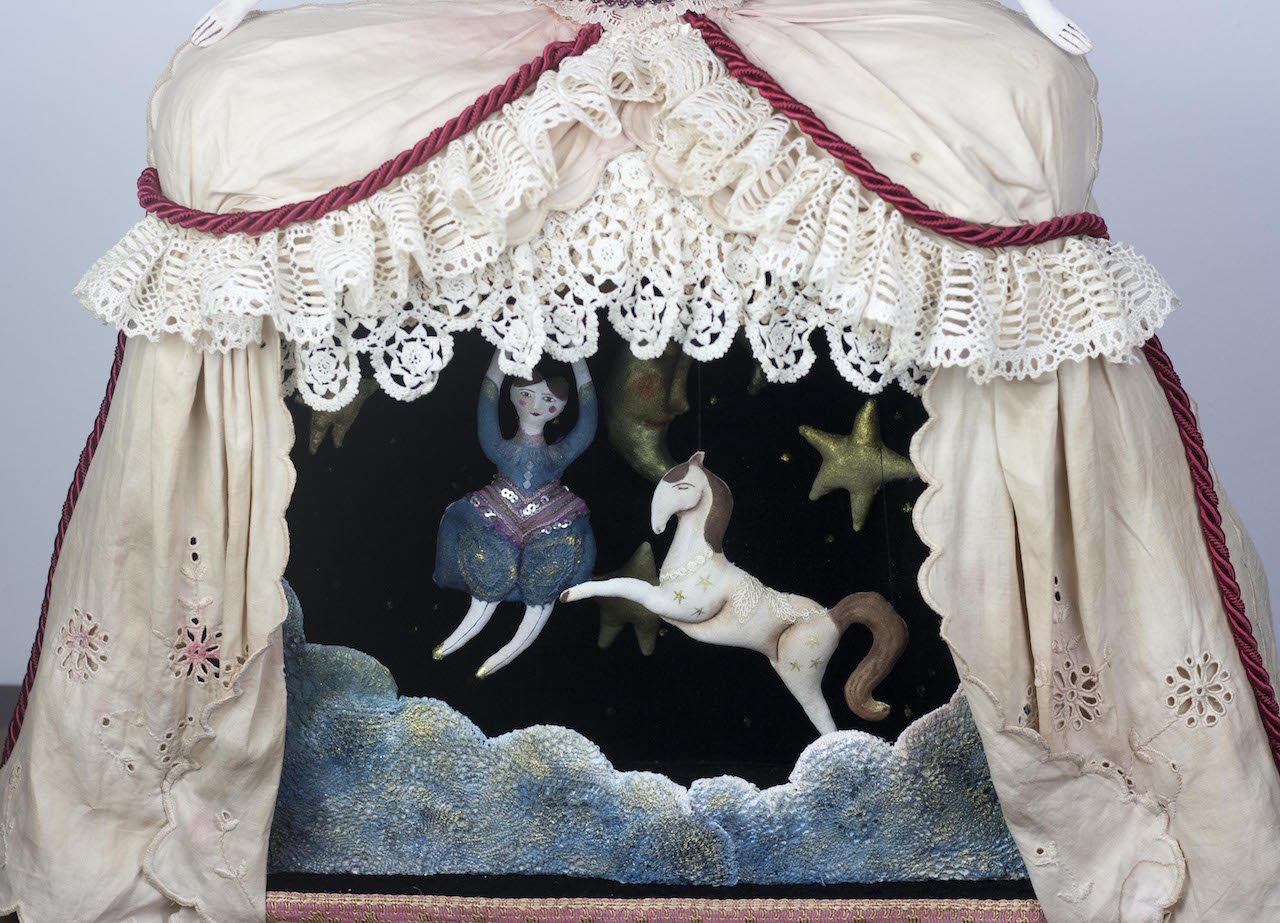
To place the diorama inside the chest of the doll, I cut a little cross in the middle of the area where I want the diorama to go.
Then I push the object that makes the diorama right in there,
with a good amount of textile glue on the back of it. In this case I used a deep tin lid for the diorama.
With a piece of cotton cut into a circle with a smaller circle cut out of that, leaving you with a kind of fabric ‘wheel’
I secure the diorama, glueing the ‘wheel’ over the edges and into the diorama.
Within this diorama I used scraps of old book pages to cover the surface.

I made moths out of firm card covered in antique lace, slightly stained with coffee and gold paint, and placed them in the diorama.
I decorated the edges with coffee stained antique embroidered fabrics, partially glued partially sewn to the doll.

Now in between the previous photo of the doll and this one here I haven’t documented very well, getting all wrapped up in the progress.
In any case, I have now painted the clay face of the doll, using acrylics, and sanded parts down a little bit again, to give her a worn look.
Then I varnished her with a two component crackle varnish. The first component leaves a milky layer and the second one crackles in the drying process.
To bring out the crackles I rub some brown oil pastel on my finger and rub that over the crackles.
With some clean tissue paper I clean the face leaving only the dark tiny crackles, giving her an old porcelain look.
The crackle varnish is water-based, so I seal it twice: first with a spray
(to make sure I don’t brush out the brown pastel from the crackles with the varnished brush)
The second layer is a liquid satin varnish, this one is brushed on.
All over her arms and neck I have embroidered leaves and branches with thickish silk string.
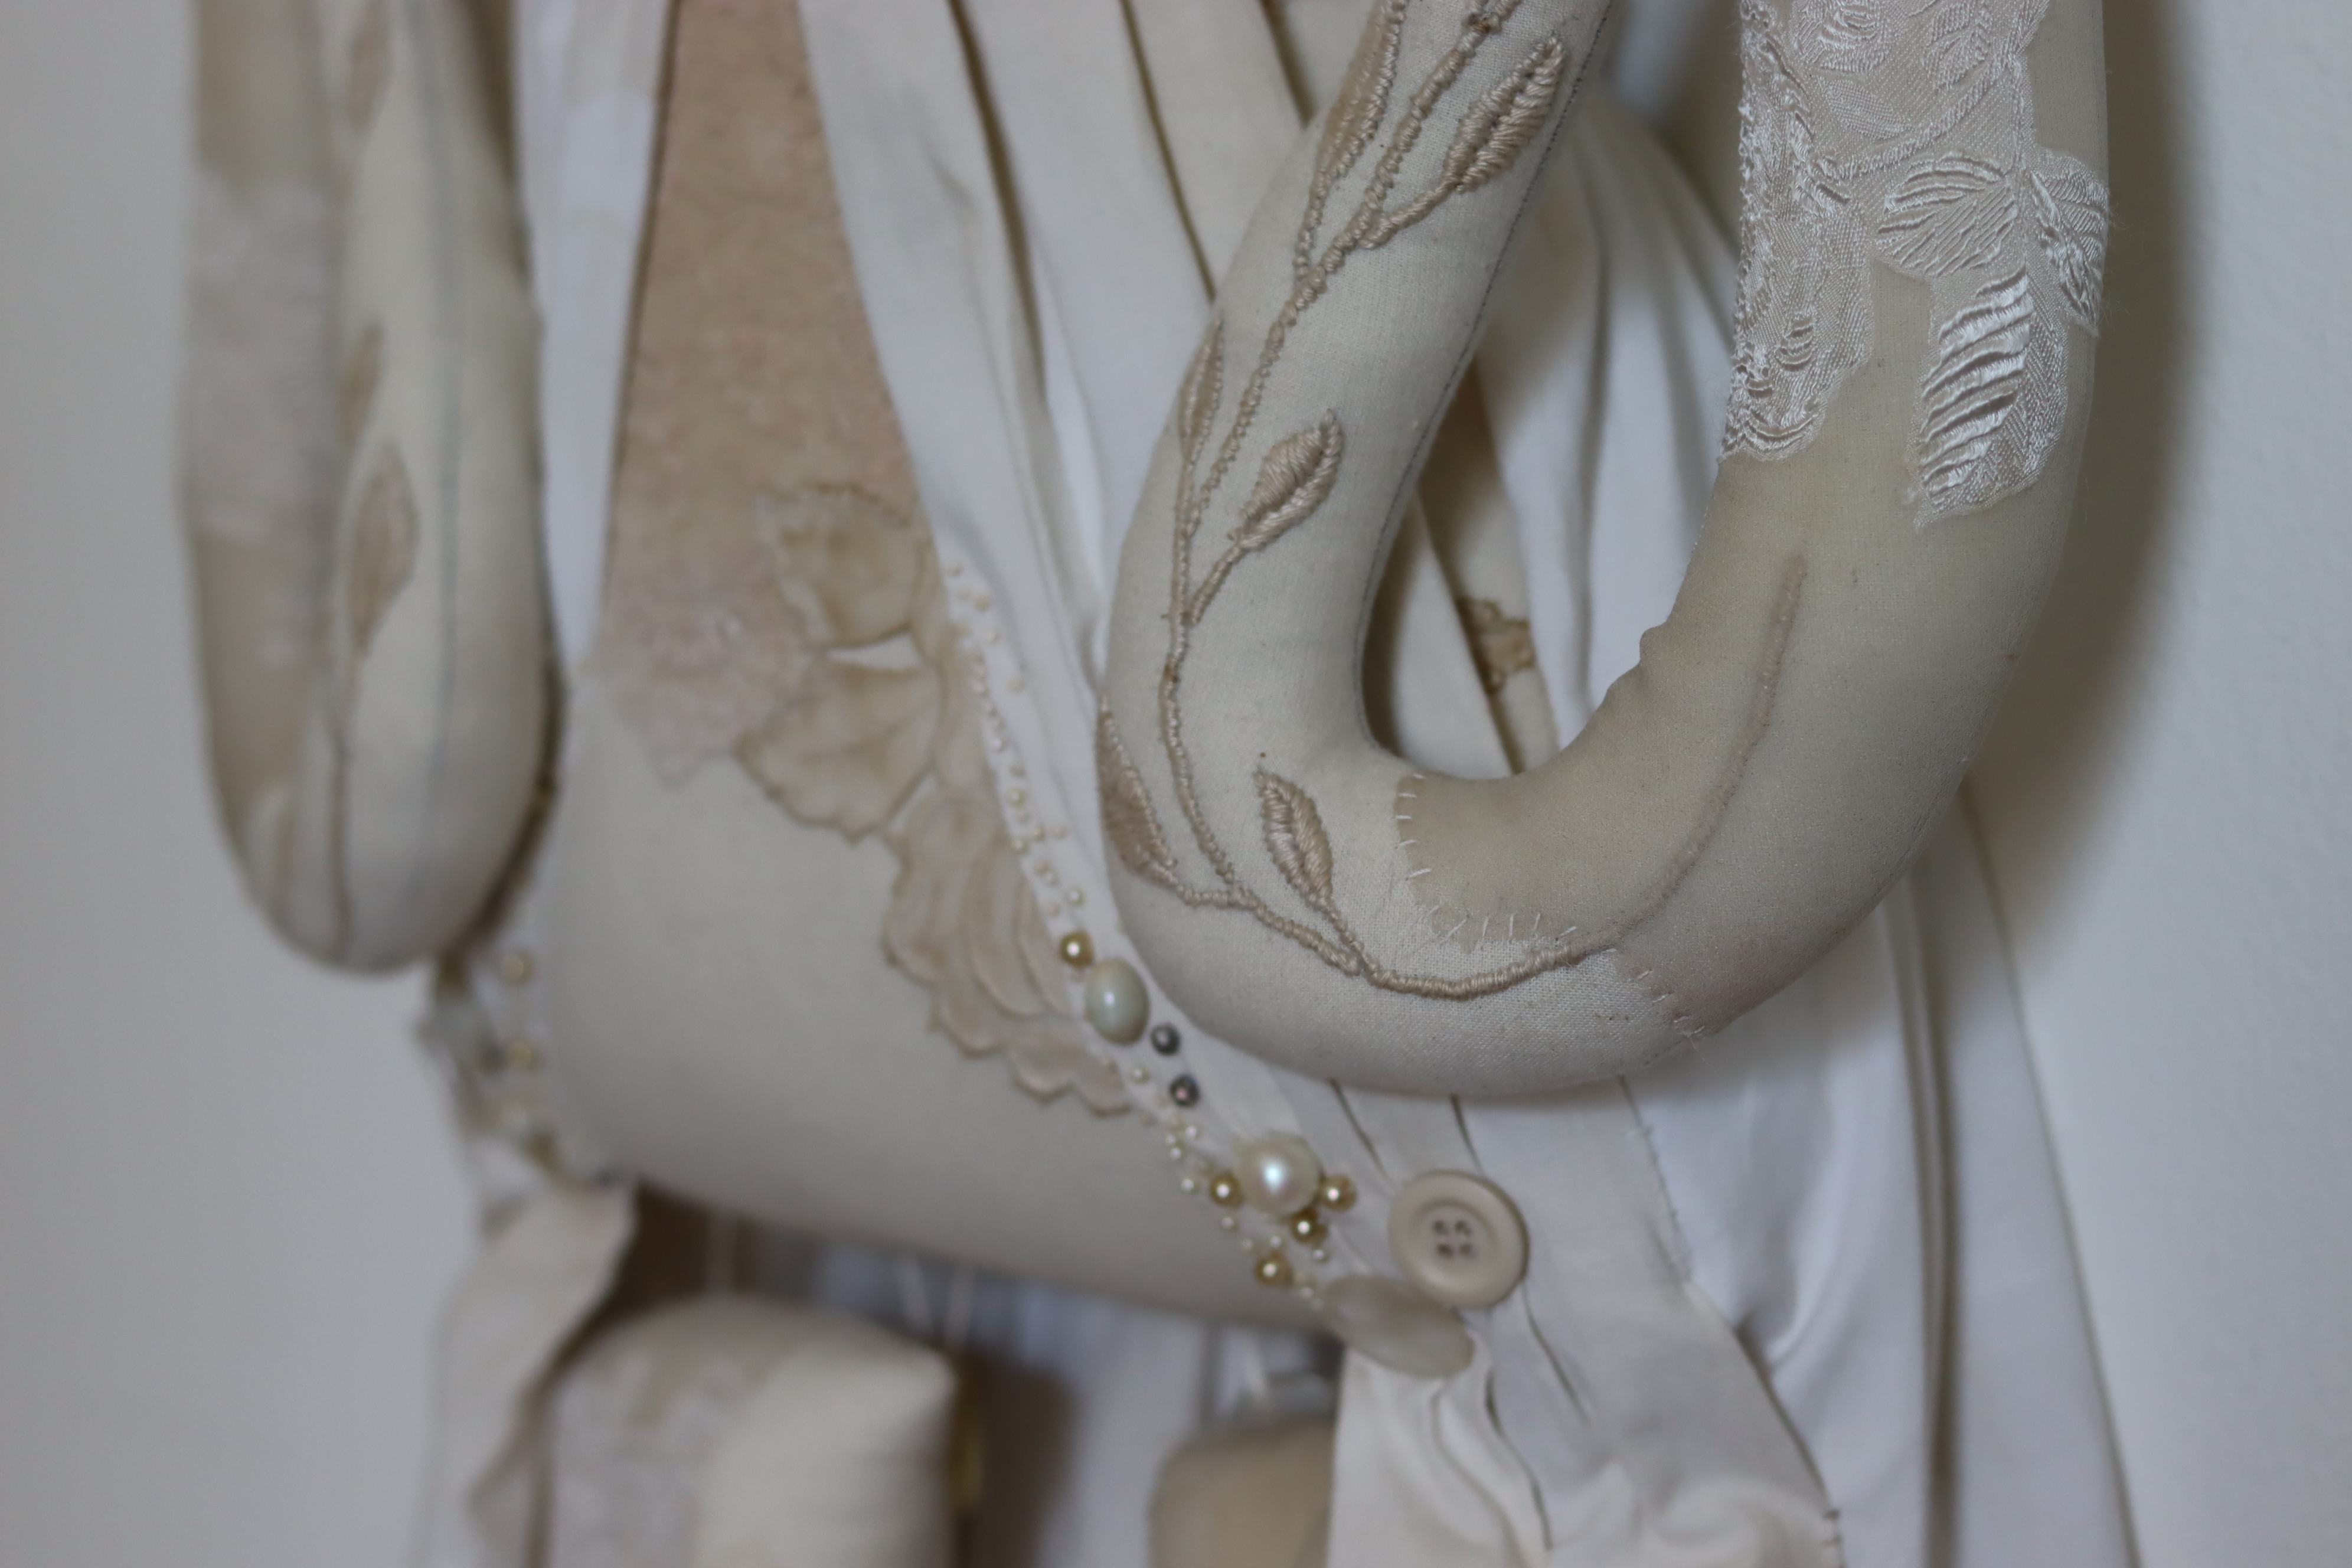
Delicate coffee stained textiles are sewn onto her, and beads an buttons too
Finally the legs… I have made these in the same way as I did the arms, and chose to attach them to the upper body using fabric hooks and big buttons.
This way they can be removed making it possible for me to ship the doll within the maximum dimensions for shipping to the other side of the globe,
without it costing a million dollars… One has to be practical sometimes…
Besides, I have used this idea a few times now on large pieces and really like how it looks too!
Finally, I created the wig for Rosemary with locks of Teeswater fleece; a beautiful long curly sheep-wool.
I cut out a strip of fabric on which I sew the locks. The fabric strip is then sewn onto the head.
To do this I left the back of the head clay free, just fabric, so only the front (the face) is clay on cloth.
This way I can sew on the wig rather than glueing it onto the clay, which can make a bit of a mess…
sheep-wool and glue is not a good combo…
Finally #2, to finish the diorama off I had a circular piece of glass cut which I glued onto the edges of the diorama.
With another fabric ‘wheel’ (You remember the circular piece of fabric with the smaller circle cut out of it) I secured it in its place.
So partially covering the edge of the glass and partially covering the space around the diorama, using textile glue.
Finally #3 I placed a circular piece of wood inside her back, covering it in fabric again.
I do this with larger, heavier pieces to screw the metal hook for hanging into.
Yesterday my friend and I took Rosemary to The Devil’s Mount, a forest nearby where I live, and we took some beautiful pictures of her there:

Well, I hope you enjoyed reading this post, and if you are working on something creative yourself I wish you a lot of happiness in the process
x P x


Unbelievable in its beauty! Rosemary. Elegant contours and lovely stitchery!
Thanks so much Nancy
Absolutely fantastic art doll! Great tips about pushing filling with a broken paintbrush and the clay on cloth technique. Thanks for sharing your progress. Love your art!
Thank you Maja, I am glad to hear you have found it helpful 🙂 Don’t break too many paintbrushes haha x
Rosemary is amazing. Love her butterflies and her size. Thanks for sharing!
Wonderful to hear that thank you Constance x
your amazing work keep inspiring my fantasy world dear!
thank you for the beautiful post and hope to meet u in person one day.
Many thanks Eli
You are a true inspiration…I have been following your work on Pinterest and then signed up for your blog…I love creating with fabric and clay as well…you inspired a piece I call The universe within…she lives with a dear friend now.Sending love
Thank you so much, I really love that and I am very honoured to have inspired a piece you made, The Universe. Big hugs to you
I loved reading about your process! I am doing a workshop with The Pale Rook in October and you have given me wonderful inspiration. Your work really speaks to me!
Thank you Martha, I am glad. I love The Pale Rook, please say hi to Joanna and have fun wit the workshop x